


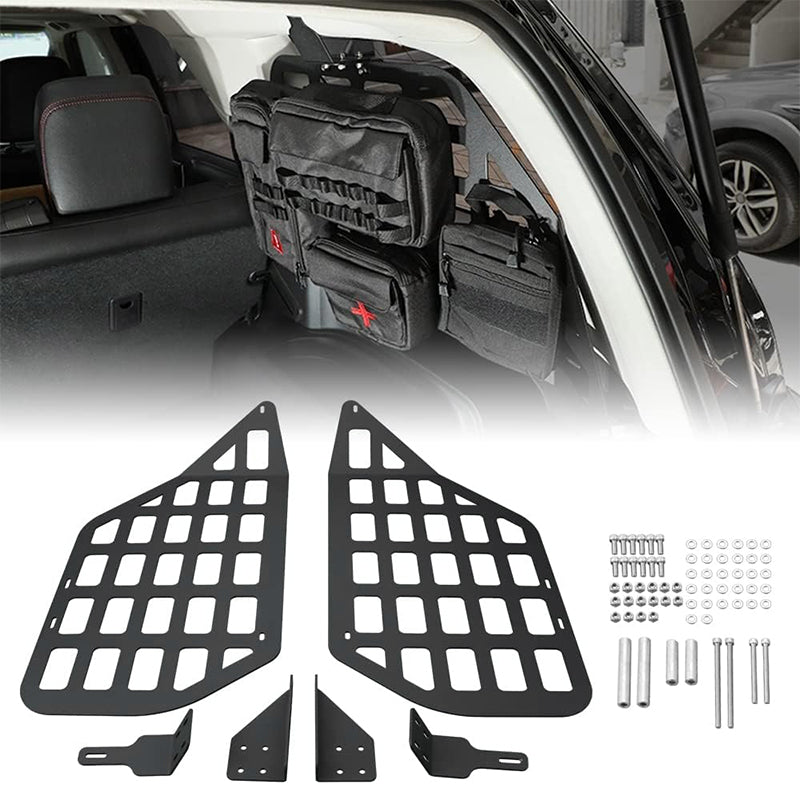


Description
Increase the storage capacity inside your vehicle with 4runner molle panel from your Toyota 4Runner.
Key Features:
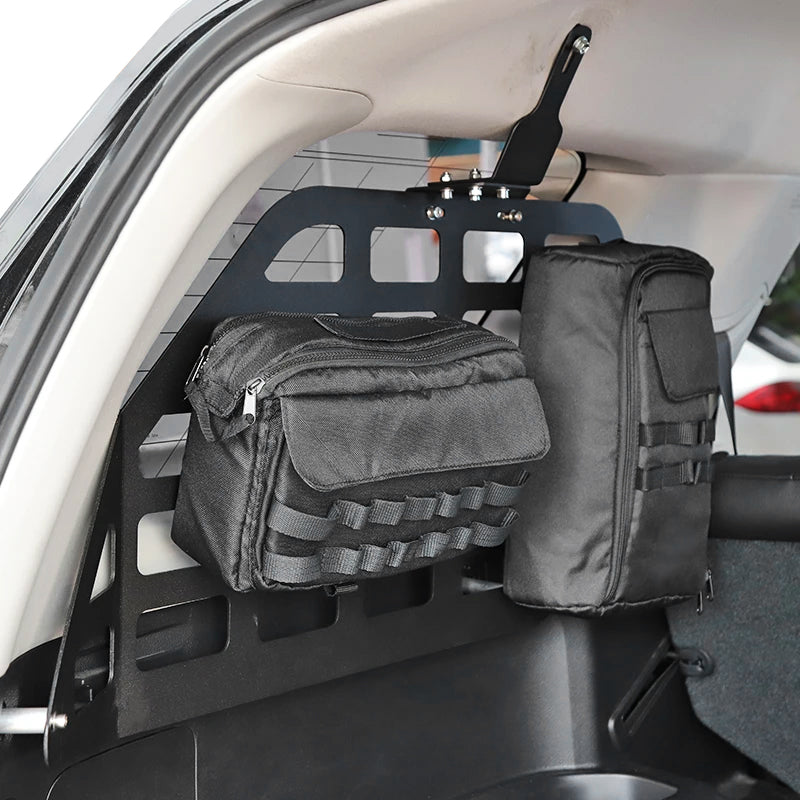
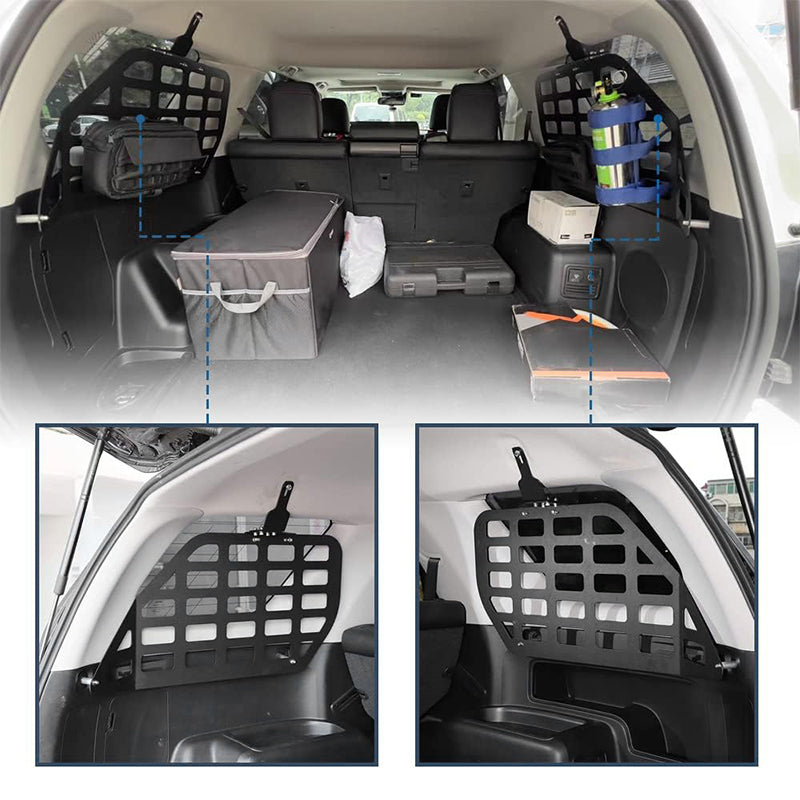
- Maximize Storage Capacity: These rear window molle panel make full use of the rear space of your 4Runner. They provide stability and safety for your accessories, such as waist bag, survival tool, equipment, etc.
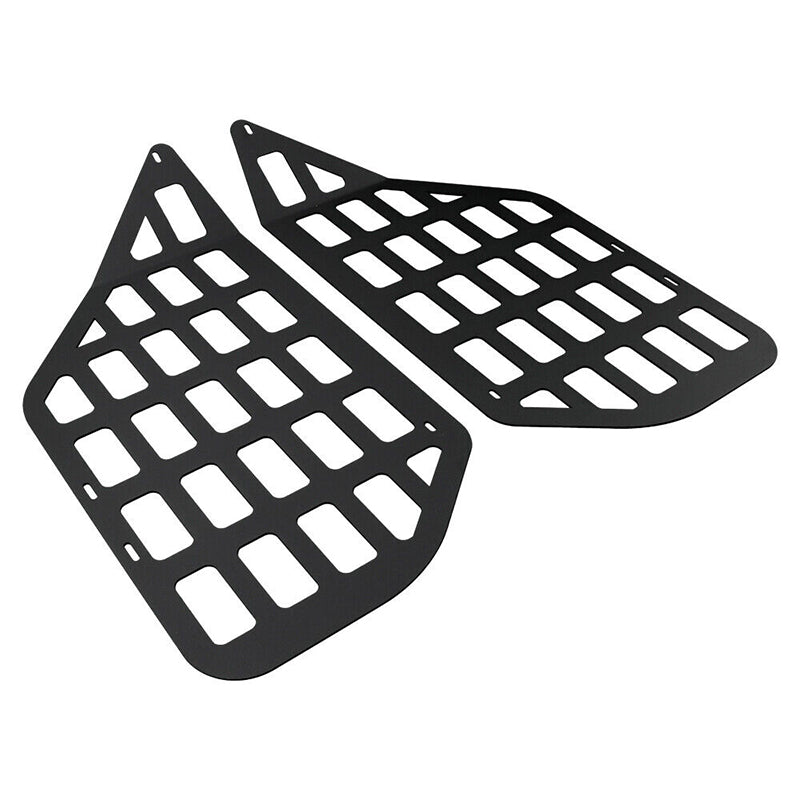
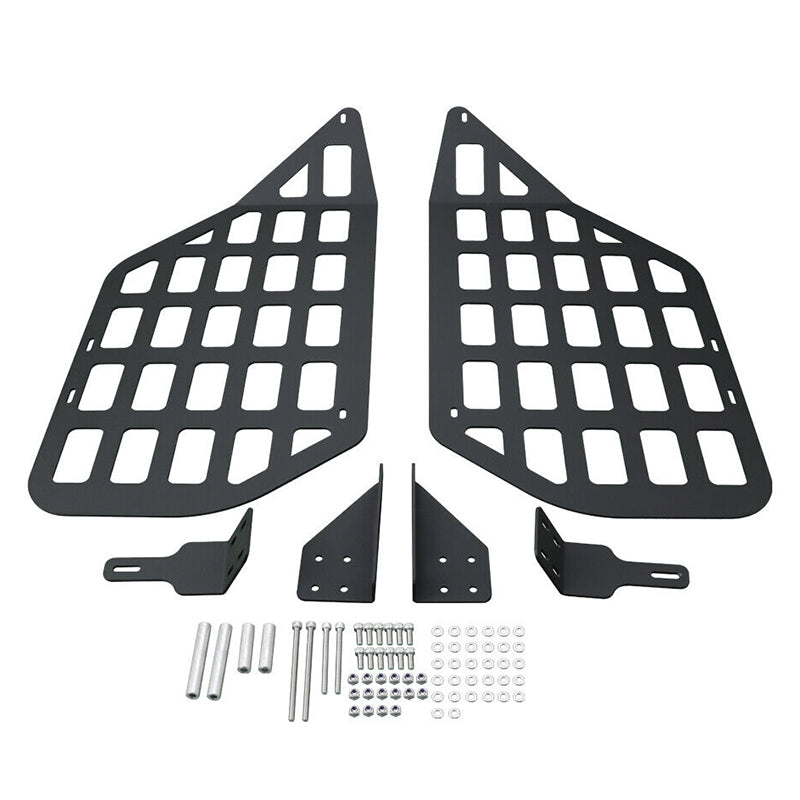
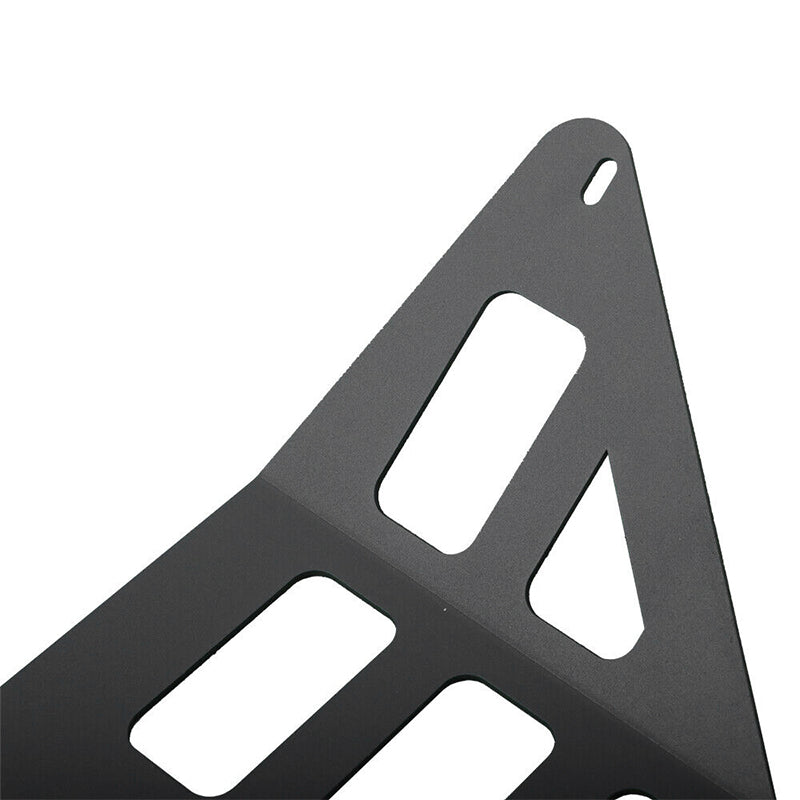
- Heavy Duty Construction: The board is made of heavy-duty aluminum alloy, CNC engraving process, and anodic oxidation treatment, with black powder coating on the surface. durable material for long usage, strong bearing and strength high, extremely rugged, and will not rust.
- Keep Items Organized: This can not only tidy up the items, but also make it easier to keep the vehicle clean and tidy. The storage tray can help you find the items you need in time, prevent them from sliding and fix them in place.
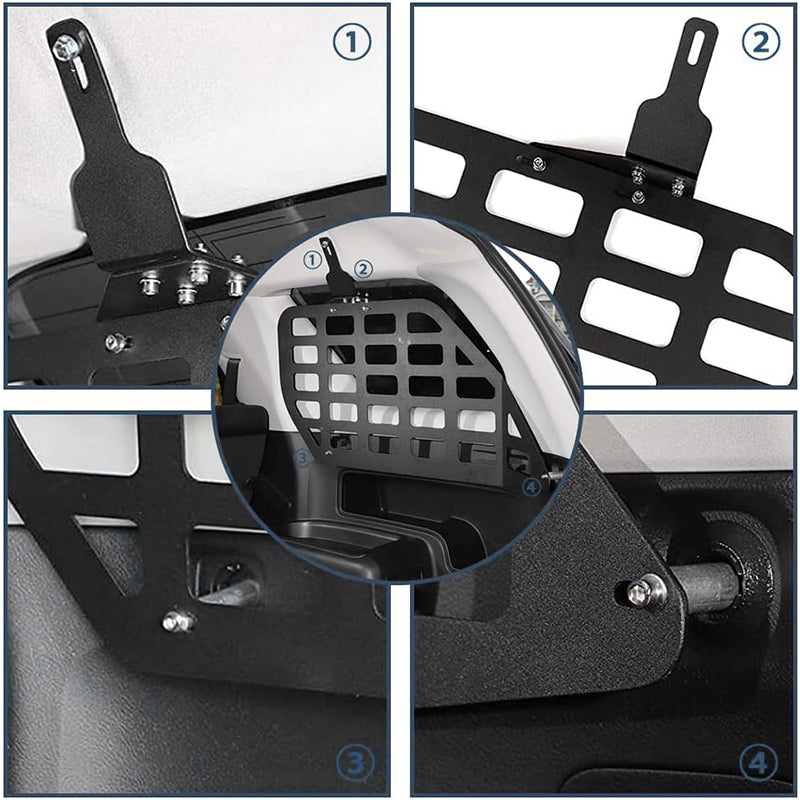
- Easy Installation: The Modular Storage Panel System is easy to install and does not require any drilling or changes to your 4Runner.
Specification:
Color: Black
Material: Aluminum
Fitment:
2010-2024 Toyota 4Runner
Package Included:
2x Pannels with Hardware


Payment & Security
Your payment information is processed securely. We do not store credit card details nor have access to your credit card information.