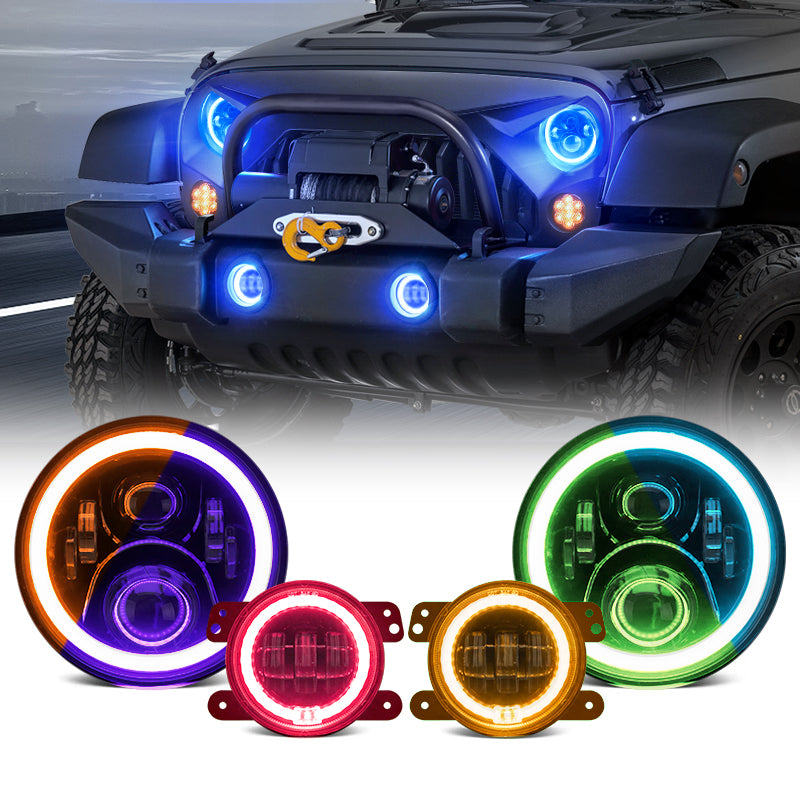
Here's an expanded, step-by-step guide for installing LED headlights and fog lights with halos and turn signals on a 2008 Jeep Wrangler JK:
Step 1: Preparation and Tool Gathering
1. Tools Required:
- T15 Torx bit for headlight screws
- Trim tool or flathead screwdriver for grille button plugs
- Electrical tools: wire strippers, crimping tool, heat gun for shrink-wrap
- Test light or multimeter for checking power wires
- Wire loom, zip ties, and electrical tape for neat wiring
2. Unpack and Inspect LED Kit:

- Ensure all components are in the kit: headlights, fog lights, wiring harness, pigtails, and any accessory connectors.
- Verify wiring instructions from the LED Factory Mod kit for reference on halo wiring, directional, and accessory power requirements.
Step 2: Grille Removal
1. Detach Button Plugs:

- Use a trim tool or flathead screwdriver to remove the button plugs along the top edge of the grille.
- Pry carefully to avoid damaging the clips, especially as they may be brittle with age.
2. Release Grille Tabs:
- After removing the button plugs, gently pull the grille forward.
- For secure removal, press down on the plastic tabs behind the grille using a flathead screwdriver. Avoid forcing the grille to minimize strain on the tabs.

3. Disconnect Turn Signal Sockets:

- Locate the amber directional light sockets behind the grille and twist them to release, allowing the grille to fully detach.
Step 3: Remove Factory Headlights
1. Remove Bezel Screws:

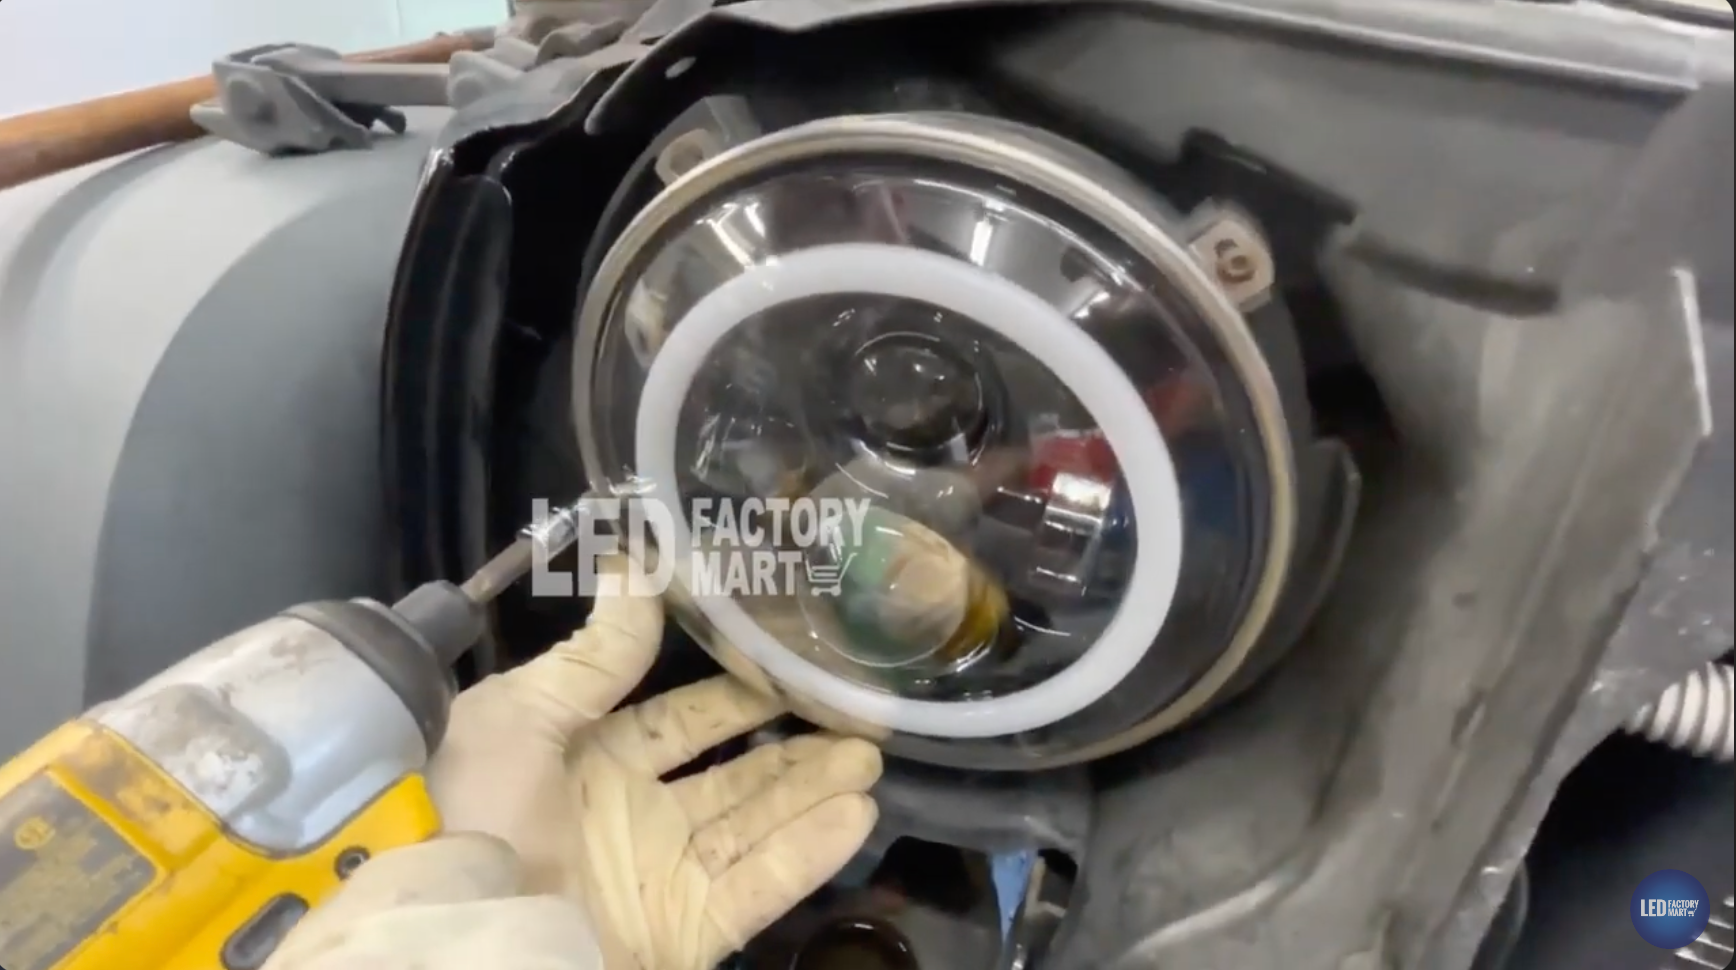
- Using the T15 Torx bit, unscrew the four small screws holding the headlight bezel in place. Keep these screws for reinstallation.
2. Disconnect Headlight Wiring:

- Slide the red locking clip back on the headlight plug, press down on the green tab, and disconnect the harness.
- Carefully remove the headlight from its mount.
Step 4: Preparing and Modifying New LED Headlights
1. File Down Headlight Tabs (If Needed):

- Test-fit the new LED headlights in the housing.
- If tabs are too tight to align properly, use a file to slightly trim them down. This modification ensures a snug, secure fit without forcing the light into place.
2. Attach Wiring Harnesses:
- Connect the provided wiring harness for the headlight, which will typically include a main plug for plug-and-play installation.
Step 5: Wiring the Halo and Directional Features
1. Identifying Wires:
- Use a test light or multimeter to identify the directional (turn signal) power wire in the factory harness.
- For the halo, the kit often includes a yellow wire designated for the turn signal function and a white wire for daytime running lights (DRLs).
2. Splice into Turn Signal Power:

- Strip and splice the yellow halo wire to the identified directional power wire using a shrink-wrap butt connector for durability.
- Heat-shrink the connection to protect it from moisture, ensuring a stable connection.
3. Run Accessory Power Wires for DRLs:

- The DRL wire (white) will require a separate power source. Run a red accessory power wire from each headlight to the fuse box area for this purpose.
- Use wire loom to cover and protect all wires as you route them from the headlights to the fuse box, securing them with zip ties.
Step 6: Fog Light Installation and Wiring
1. Remove Existing Fog Lights:

- Use a Phillips screwdriver to remove the four screws holding each fog light in place.
- Disconnect the factory fog light plug and remove the fog light from the housing.
2. Install New LED Fog Lights:
- Connect the new fog light to its harness, ensuring a plug-and-play fit. If not, use the provided pigtail harness and connectors.
- Run the yellow accessory power wire for each fog light up to the fuse box alongside the headlight wiring.
3. Secure Wiring:

- Use wire loom to encase the fog light accessory power wire and route it neatly alongside the headlight wires.
Step 7: Installing Fuse Taps for Accessory Power
1. Add-a-Fuse Setup:
- Locate empty fuse slots in the Jeep’s fuse box (typically marked as ignition power). These slots are often labeled in the vehicle’s manual.
- Install an add-a-fuse tap in each empty ignition-powered slot, adding 5A or 10A fuses as appropriate.
2. Route Accessory Power Wires to Fuse Box:

- Route each headlight’s and fog light’s accessory power wire into the fuse box and attach them to the add-a-fuse taps.
- If the kit doesn’t include instructions on fuse size, use a fuse that matches the combined amperage of the lights.
3. Secure Fuse Box Wiring:
- Drill a small hole in the fuse box cover to allow wires to pass through without pinching.
- Cover exposed wires with loom up to the fuse box to maintain a tidy, professional look.
Step 8: Installing Headlights and Fog Lights
1. Mount New LED Headlights:

- Insert each headlight into its housing, aligning the newly filed tabs.
- Secure with the T15 screws, but don’t over-tighten; just enough to hold the headlight snugly.
2. Install Fog Lights:
- Position each fog light and secure with the four Phillips screws. Ensure the light is correctly aligned before tightening.
Step 9: Final Grille and Wiring Assembly
1. Reconnect the Grille:
- Align and snap the grille back into place, securing with button plugs along the top edge.
- Reconnect the turn signal sockets by twisting them into their housing.
2. Test Light Functions:
- Low Beams: Turn on to check both the headlights and fog lights.
- High Beams: Ensure both headlights brighten and that fog lights dim if connected to this functionality.
- Turn Signals: Test the directional function to confirm halo lights flash in sync with the turn signals.
- DRLs: Confirm daytime running lights work as expected when ignition power is on.
3. Adjust Headlight Beam:
- Use a T15 Torx bit to adjust the headlight beam height if necessary (screw located near the headlight on each side).
- Make sure both headlights align evenly for optimal road illumination.
Step 10: Wrap Up and Final Inspection
1. Double-Check Wiring:
- Ensure all wiring is tucked away from metal edges or moving parts that could wear through insulation.
- Verify all connectors are secure, shrink-wrapped, and positioned safely away from hot components.
2. Seal and Organize the Fuse Box:
- Close the fuse box cover securely over the modified wiring.
- Add zip ties along the harness to further secure the wiring loom.
With this setup complete, your Jeep will have enhanced lighting with a clean, protected wiring setup and the added style of halos and DRLs. The new LEDs should offer significantly improved visibility and a modernized look for your Wrangler!


